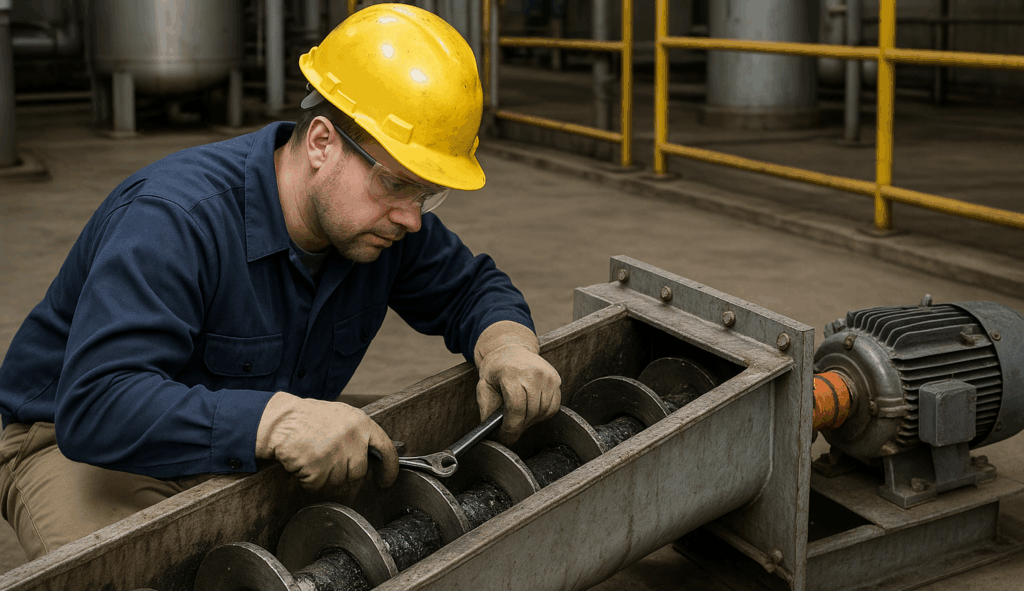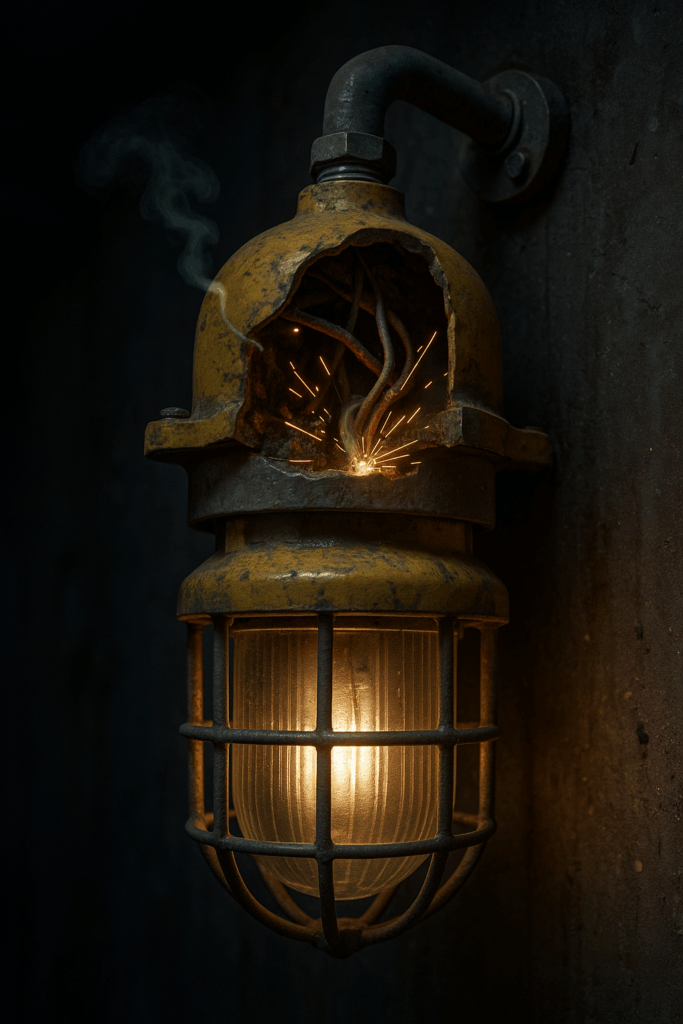
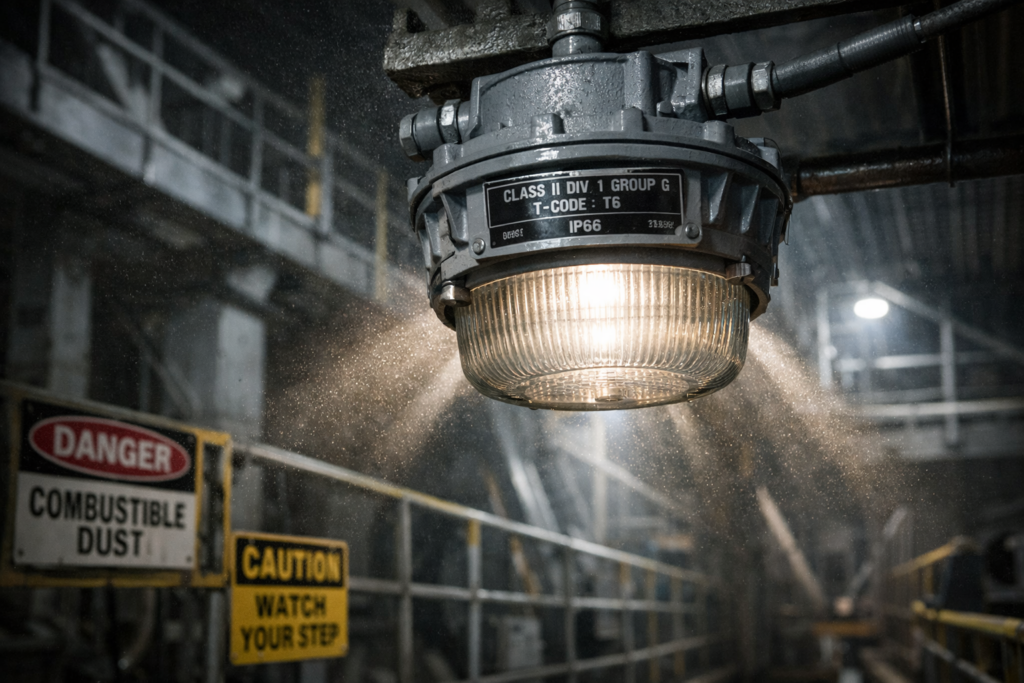
What if the riskiest spark in your grain site hangs right above your head? Imagine one tiny arc turning floating dust into a fireball. Ready to swap risk for control? Here’s the full playbook, and it starts with the light you switch on.
Key Takeaways
- Learn what makes grain dust dangerous and how lighting either fuels or fixes the problem.
- See the standards that matter (Class II, Divisions, Groups) in plain language.
- Use a decision framework, table, and checklist to spec the right fixtures fast.
- Get a step-by-step rollout plan with timelines, tools, and a quick ROI example.
Why lighting is often the hidden ignition source
Grain dust hangs in the air like glitter you can’t catch. The smaller the particles, the bigger the blast risk. Fans push it around. Conveyors shake it loose. A lamp with a loose contact, a hot surface, or a cracked lens can be enough to set it off. That’s the trap: lighting feels harmless because it’s “just light,” but inside many fixtures live arcs, heat, and gaps where dust sneaks in and builds up.
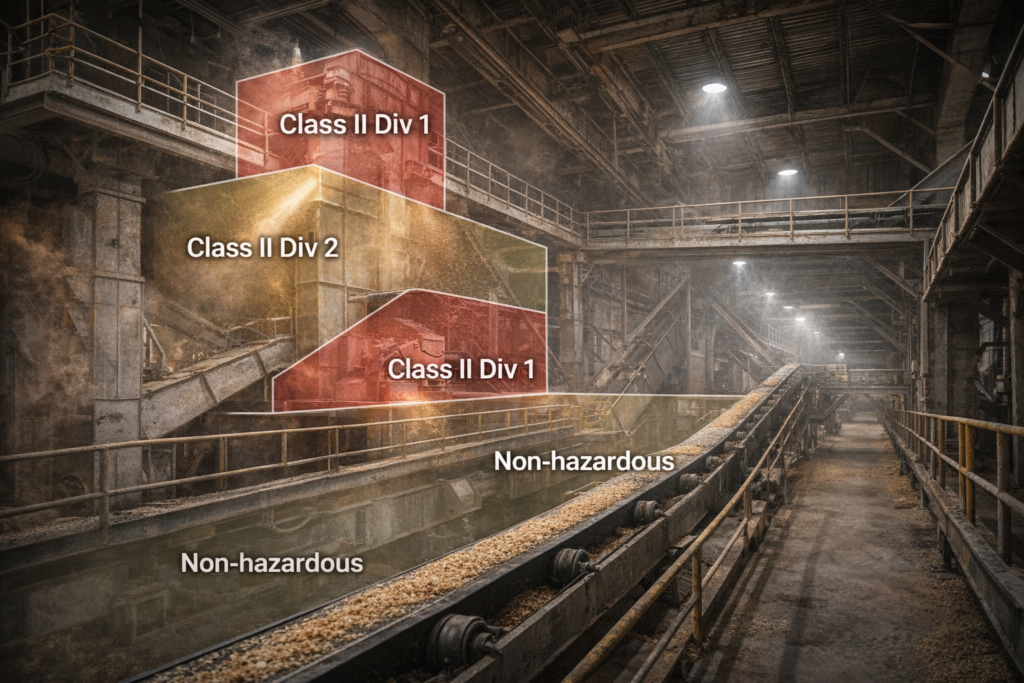
Think about the high-risk zones: bucket elevators, transfer points, cyclones, and overhead galleries. These areas breathe dust. If fixtures aren’t built for hazardous locations, they can overheat, let dust pack onto drivers, or spark when a driver fails. Codes exist for a reason. Class II covers combustible dusts like grain. Division 1 means the hazard is present during normal operation; Division 2 means it’s abnormal but possible. Both need purpose-built gear, including explosion-proof lighting that seals out dust and contains any fault inside the housing.
So the question shifts from “Do we need special lights?” to “Where are we currently gambling?” Because once you map zones, the answer writes itself—and sets up how to choose smarter, safer fixtures next.
How safety lighting keeps dust from meeting a spark
Picture a pressure cooker with a clear lid. If something flashes inside, it stays inside. That’s the idea behind explosion-proof lighting: robust housings, threaded joints or flame paths, tough gaskets, and lenses that don’t shatter under heat. The goal isn’t magic; it’s containment. If a component fails and arcs, the enclosure keeps the ignition from reaching the dust-rich air outside.
Key concepts, made simple:
- Combustible dust: Fine particles that can ignite when mixed with air.
- Auto-ignition temperature (AIT): The heat level where dust lights without a spark.
- T-codes/temperature ratings: Make sure fixture surface temps stay below your dust’s AIT.
- Ingress protection: IP66/67 helps keep dust out; the enclosure does the heavy lifting.
- Class II, Groups F/G: Food and agricultural dusts often sit in Group G; check your material MSDS.
Modern hazardous-location LEDs help more than old HID. LEDs run cooler, cutting surface temperature risk. Drivers are potted and sealed. Lenses resist impact. Mounting options fit catwalks, silos, tunnels, and pit rooms. Motion and photocell controls save energy without cycling heat.
When you understand these parts, you can stop guessing and start specifying. And once you can specify, you can build a practical roadmap that balances code, cost, and uptime.
What to specify, where to place it, and how to decide fast
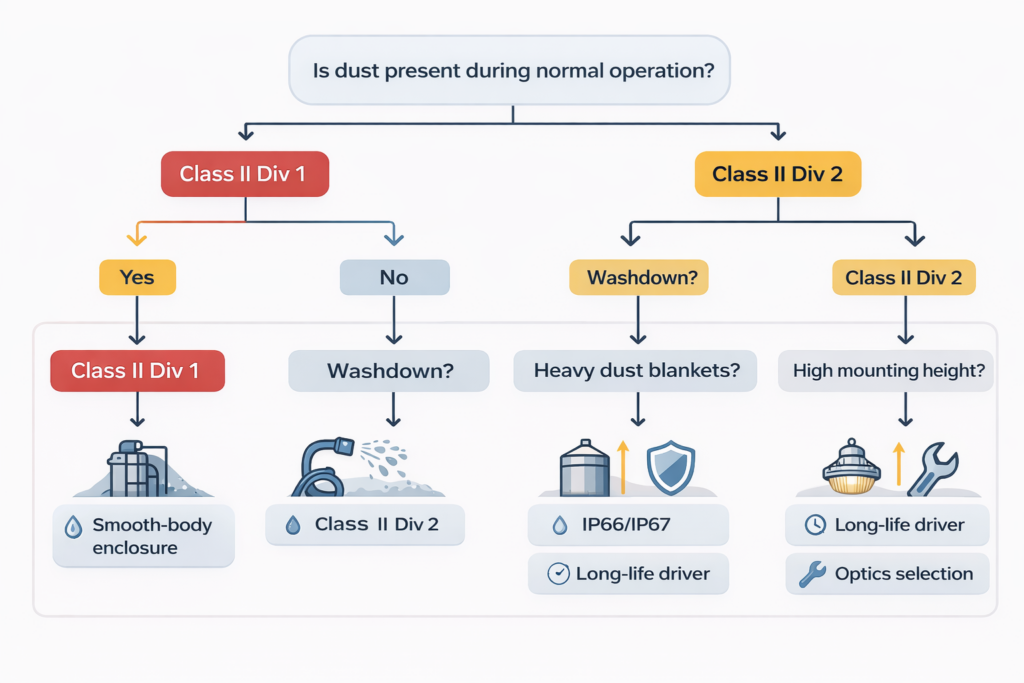
You don’t need a PhD to select lighting; you need a sharp filter. Use this two-step approach: zone first, spec second.
Decision Framework (pick your path)
- If dust is present during normal operation (bucket elevator headhouse, transfer points), spec Class II, Div 1 fixtures with temperature ratings below your dust AIT.
- If dust is present only abnormally (some packaging areas), spec Class II, Div 2 with equal or better temperature control.
- If cleaning is infrequent and dust blankets gear, favor smooth-body enclosures and high IP ratings to prevent buildup.
- If washdowns happen (feed mills), prioritize sealed lenses and corrosion-resistant housings.
- If heights are extreme (silos), demand long-life drivers and remote gear only if service access is safe.
Implementation Table (from spec to light-on)
| Step | What to Do | Tool | Time | Output |
|---|---|---|---|---|
| 1 | Map hazard zones (Div 1/2; Groups) | Floor plan + dust logs | 1–2 days | Marked-up site map |
| 2 | Gather dust data (AIT, particle size) | MSDS + lab notes | 0.5 day | AIT + Group confirmation |
| 3 | Select fixtures & optics | Vendor cut sheets | 1 day | Shortlist with temp ratings |
| 4 | Calculate light levels | Simple lighting calc app | 0.5 day | Lux/footcandle plan |
| 5 | Validate mounts & clearances | Site walk | 0.5 day | BOM + mounting kit list |
| 6 | Pilot install in one zone | Lift + electrician | 1 day | Field validation |
| 7 | Rollout in phases | Work orders | 1–3 weeks | Commissioned system |
Step-by-Step Checklist (print and walk the site)
- Confirm Class II zones per NEC/CEC.
- Record dust type and AIT; set max allowed fixture surface temp below AIT.
- Choose sealed LED enclosures; avoid fins that trap dust where possible.
- Verify IP66/67, shock rating, and lens impact resistance.
- Match optics to task (narrow for towers, wide for bays).
- Plan control logic (motion/photocell) without rapid cycling.
- Lock mounting, conduit entries, strain relief, and torque specs.
- Document maintenance intervals and cleaning methods.
When your filter is crisp, choosing becomes quick and defensible, and that makes budgeting and scheduling straightforward for the rollout to follow.
Rollout plan, tools, prompts, and a quick numbers example
Do it this quarter—week by week.
Week 1–2: Audit & Spec
- Walk the site with the checklist.
- Tag Div 1 vs Div 2 areas; note mounting heights and cable runs.
- Shortlist two fixture families meeting Class II and temperature targets.
- Run a quick lighting calc to confirm 200–300 lux in active work areas, 50–100 lux in storage.
Week 3: Pilot Zone
- Pick one elevator headhouse or transfer station.
- Install 4–8 fixtures, check glare, shadows, and dust buildup after 72 hours.
- Get feedback from operators on visibility and maintenance access.
Week 4–6: Phase Rollout
- Prioritize Div 1 zones, then Div 2, then low-risk spaces.
- Train maintenance on cleaning intervals and torque checks.
- Document fixture IDs, drivers, and warranty terms in a simple sheet.
Prompts and templates (drop into vendor emails/RFQs)
- “Send Class II fixture data with temperature code, IP rating, and photometrics for 8–12 m mounts.”
- “Confirm lens material, impact rating, and driver potting method.”
- “Provide commissioning guide for motion controls with minimum off-time to prevent rapid cycling.”
Worked Example (quick math, conservative)
- Replace 30 legacy 150W HIDs (draw ~180W each) with 90W hazardous-location LEDs.
- Energy: Old = 30 × 180W = 5.4 kW; New = 30 × 90W = 2.7 kW.
- Hours: 4,000 hrs/year → Energy saved = 2.7 kW × 4,000 = 10,800 kWh.
- Cost: At $0.12/kWh → ~$1,296/year saved in energy.
- Maintenance: Two relamps/ballast fixes avoided per year at ~$150 each → $300/year saved.
- Risk reduction: Hard to price, but even a single averted dust incident avoids six figures.
- Simple payback: If fixtures + install cost ~$1,000 each → $30,000 total; direct savings ~$1,596/year → ~18.8-year payback on hard costs alone, but with safety/insurance risk reduction and rebates, practical payback typically falls to 3–6 years. Document the real gains during the pilot.
Lock the first zone, learn fast, then repeat—because consistency kills risk and keeps your numbers honest.
Nuances & Perspectives
Not all dust is equal. Corn, wheat, and soy can vary in moisture, particle size, and ignition temps. Cooler LEDs help, but if housings have deep fins, they can trap dust cakes that hold heat. Smooth-body designs often clean faster. Also, “more light” isn’t always safer. Glare can hide hazards, and bright-dark patterns can fool depth perception on catwalks.
If your site is small, a single fixture family across zones simplifies spares and training. If your site is sprawling, mixing form factors (linear for tunnels, flood for towers) may reduce shadows and improve task lighting. Controls save energy, but don’t let sensors cause frequent on/off cycles that stress drivers. In cold climates, verify low-temperature start; in hot headhouses, check ambient ratings above 50°C.
If/then guidance
- If dust is sticky or oily, then select lenses that resist film and plan more frequent cleaning.
- If washdowns are routine, then prioritize stainless hardware and gasket materials rated for your chemicals.
- If you’re unsure about Group classification, then test samples or consult MSDS and an EE to lock the Group call.
- If access requires lifts or confined-space permits, then stretch to higher-reliability drivers to reduce trips.
Good choices respect context. Great choices fit your operations so well that safety becomes automatic.
Resources & Next Steps
Keep the list short and sharp. Use each item with a purpose.
- NEC/CEC Hazardous Locations Guide – Confirms Class II, Division rules and Group categories; use this to label your floor plan correctly before any purchase.
- MSDS Library for Grains – Pull AIT and dust group data; attach to your RFQ so vendors match temperature codes.
- Lighting Calculation App (free tier) – Validate lux levels and uniformity at your mounting heights; avoid over-lighting and glare.
- Vendor Cut Sheets (two brands, max) – Side-by-side compare temperature codes, IP, optics, and warranties; don’t exceed two brands to speed decisions.
- Maintenance SOP Template – One page: cleaning frequency, torque specs, inspection checklist; stick it to the breaker panel of each zone.
Next steps are simple: map zones, grab dust data, shortlist two fixture lines, run one pilot, then roll forward in phases while you collect savings and safety metrics.
Conclusion
Safety isn’t a slogan; it’s design. Grain dust floats everywhere work gets done—especially where material moves. Ordinary fixtures add heat, arcs, and places for dust to settle. Purpose-built gear cuts that risk by sealing the problem inside the housing and keeping hot surfaces below ignition levels. When zones are mapped, specs match your dust data, and installs follow a clear checklist, risk drops while visibility, morale, and uptime rise.
Circle back to the question at the start: could the riskiest spark be overhead? With a mapped plan, a tight shortlist, and a phased rollout, that spark loses its chance. Start with the highest-risk zone, prove the gains, and scale across the site. Every clean enclosure, every correct temperature code, every well-aimed optic is a small, repeatable win. Stack those wins, and a volatile environment becomes controlled, compliant, and confident. Flip the switch—with intention, not luck.
Short FAQ
Do all areas need hazardous-location fixtures?
No. Map Div 1 and Div 2 zones first; focus special fixtures where dust is present or likely.
How often should fixtures be cleaned?
Base it on dust load. Start monthly in high-load zones, then adjust after inspections.
Are sensors worth it?
Yes, if tuned to avoid rapid cycling. Use delays to protect drivers and keep uniform light during work.
Glossary (quick hits)
- Class II: Code category for combustible dust locations.
- Division 1/2: Hazard present normally/abnormally.
- AIT: Auto-ignition temperature of a dust.
- IP Rating: Ingress protection against dust/water.
- Lux/Footcandle: Measures of light level on a surface.