What if the weak link in your “explosion-proof” build isn’t the light or the driver, but the jacket around it? And what if that jacket decides whether your install survives sun, salt, and shock?
Key Takeaways
- What “F1” actually means for outdoor use and why it matters.
- How to pick materials for hazardous locations without guessing.
- A practical framework to spec LED strip housings and potting.
- A mini-playbook with tools, checklists, and a worked example.
- What to do next when vendors throw buzzwords at you.
Why the jacket decides whether your strip survives
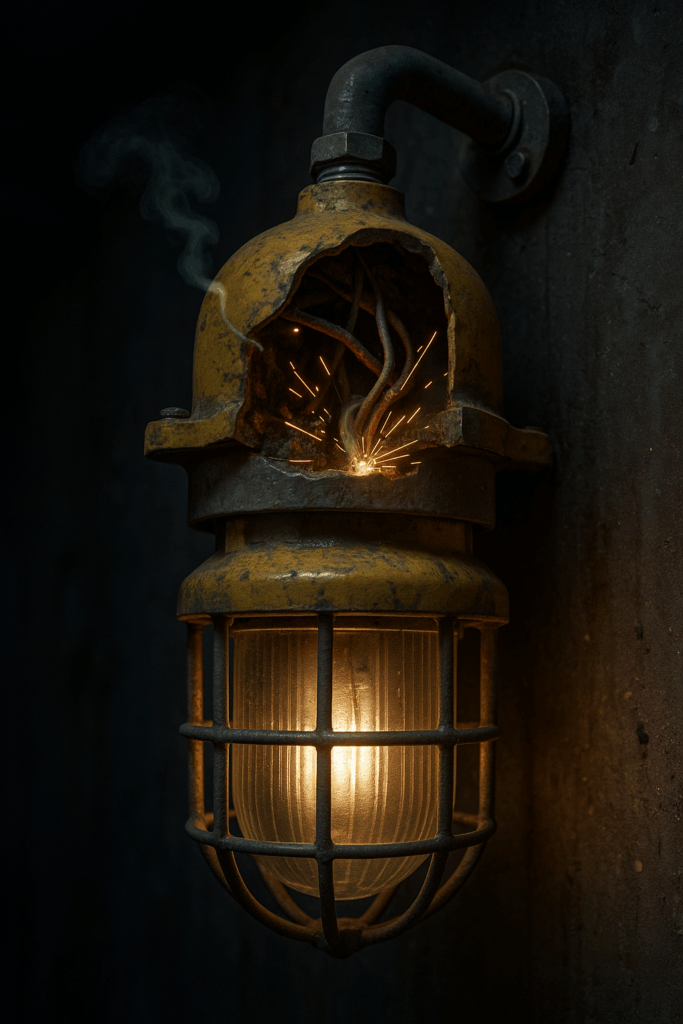
You’re buying or specifying outdoor explosion-proof LED strips. The driver checks out. The LEDs are efficient. The “explosion-proof” enclosure meets the certificate. But then outdoor reality hits: UV rays cook plastics, salt fog eats hardware, thermal cycling pulls seals apart, and cheap silicone yellows, cracks, and wicks moisture straight into your strip. That’s not just ugly. That’s downtime, maintenance tickets, and in hazardous zones, real risk.
Here’s the catch most product pages bury: enclosure integrity and polymer performance are the day-to-day shield. If the outer jacket and potting fail, the best light engine on earth won’t save you. Outdoor strips live in heat, freeze, oil mist, and relentless sunlight. In refineries, chemical plants, ports, and mines, contaminants are a feature, not a bug. You need a polymer system that resists UV, stays flexible, seals reliably, and doesn’t chalk or crack after a single season.
That’s where F1-Rated Silicone comes in: a material class verified for tough outdoor exposure, including UV and water. The right jacket turns constant punishment into a non-event, so your strip keeps its seal, lumen output, and color stability—and your maintenance log stays quiet. Next, lock the concept with simple language and a sharp analogy so choosing materials feels obvious, not murky.
And once the concept is clear, interest kicks in because you can finally compare materials head-to-head without the guesswork.
What “F1 – rated silicone” means
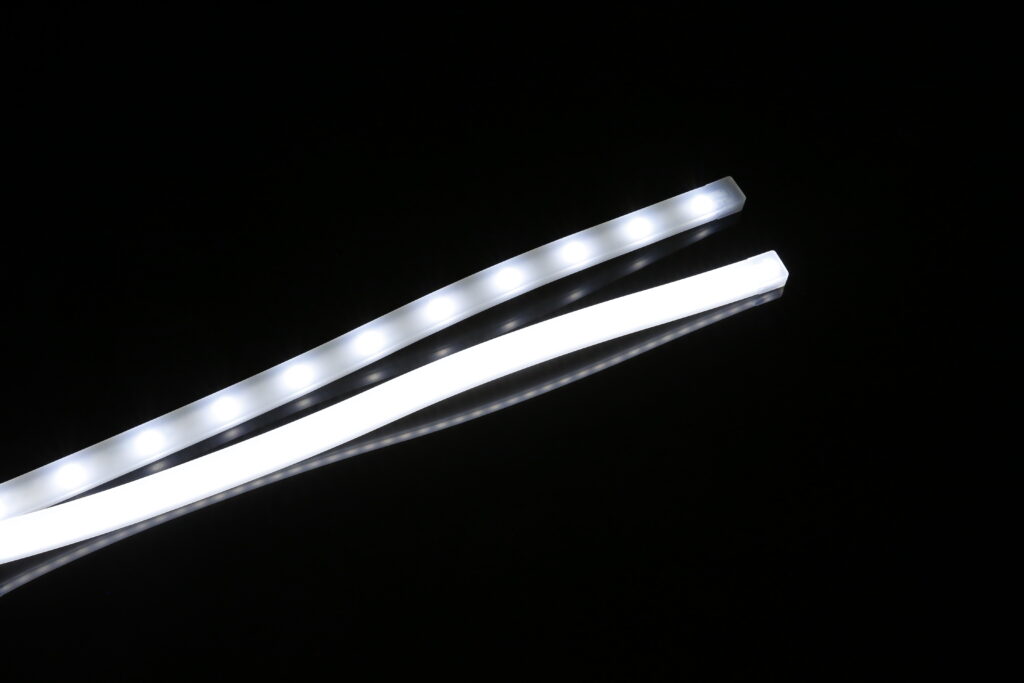
Think of your LED strip like a hand. The diodes are the bones and muscles. The driver is the bloodstream. The enclosure (the F1-rated silicone) is the glove. If the glove rips in the sun, sand slips in, skin cracks, and everything underneath suffers. In the lighting world, different “gloves” exist: PVC sleeves, PU (polyurethane) potting, generic silicone, and high-grade outdoor silicone.
“F1” is a specific outdoor suitability mark related to weathering resistance—especially UV and water exposure. In practice, an F1 material resists sunlight better, holds its mechanical properties longer, and keeps seals intact under temperature swings and moisture. Additives and crosslinking chemistry are tuned to keep the jacket flexible without yellowing or chalking fast. That means fewer micro-cracks, less moisture ingress, and better long-term optical clarity over the LEDs.
Key semantic cues to ground your selection: UV resistance, thermal cycling, salt fog, hydrophobicity, tear strength, Shore hardness, adhesion to substrates, and ingress protection (think IP66–IP68 when used with proper end caps and potting). When a vendor claims “outdoor safe,” ask about UV exposure testing, temperature range, and adhesion to aluminum or stainless channels.
Now that the idea is anchored, it’s time to turn understanding into decisions you can apply on quotes and drawings.
Build a materials stack for hazardous outdoor installs
You want a strip system that shrugs off sun, oil, and vibration—all while staying sealed and bright. Use this decision stack to upgrade beyond generic jackets:
Decision Framework (use it top-to-bottom):
- Environment severity → High UV, heat, chemicals, or salt? Choose silicone with proven weathering data; avoid PVC that hardens/yellows fast.
- Ingress target → Need IP66 splash or IP68 submersion? Match jacket + end-cap design + potting volume to the rating; validate with pressure/leak tests.
- Chemical profile → Presence of fuels/solvents? Favor silicone blends with chemical-resistance data and high tear strength.
- Thermal plan → Will the strip sit on aluminum for heat spread? Ensure the silicone bonds or mechanically locks to the channel to prevent lift.
- Service model → If rapid field repair is required, use modular end caps and field-crimp connectors rated for the zone; standardize on one potting compound per site.
Implementation Table (from spec to handover):
| Step | What to Do | Tool | Time | Output |
|---|---|---|---|---|
| Scope | Map UV, temp, chemicals, and washdowns | Site survey checklist | 30–60 min | Severity profile |
| Select | Choose jacket/potting per environment | Material data sheets | 45 min | Material shortlist |
| Design | Define end caps, channel, cable glands | CAD + vendor drawings | 1–2 hrs | BOM + drawings |
| Seal | Set potting depth, cure, and QC gates | Mixing scale, QC forms | 30–90 min | Repeatable seal spec |
| Verify | Run UV, spray, and thermal cycle checks | Test cabinet / records | 1–3 days | Pass/fail report |
| Handover | Document install & maintenance steps | PDF SOP + labels | 30 min | Field-ready SOP |
Step-by-Step Checklist (fast compliance):
- Confirm zone classification and enclosure certification.
- Define exposure: UV, salt fog, oil, chemicals, and pressure washing.
- Set target IP (66, 67, or 68) and test plan.
- Choose jacket: outdoor-rated silicone with UV weathering data.
- Choose potting: compatible with sleeve, driver leads, and end caps.
- Lock mechanicals: aluminum channel, strain relief, gasket type.
- Specify connectors/glands rated for hazardous areas.
- Document cure times and inspection steps.
- Label the system with service life expectations.
- Record everything in a handover pack for maintenance.
Why this stack wins: it protects optical clarity, keeps seals tight in heat/cold, and minimizes micro-cracks that become moisture paths. That’s how outdoor explosion-proof LED strips keep doing their job without surprise outages.
Now you’re ready to move from plan to action with tools, prompts, and a quick number-based example to sanity-check ROI before you buy.
Simulation plan, tools, and a small worked example
A 60-minute sprint:
- 15 min: List your top three outdoor locations (e.g., tank farm walkway, jetty, pump room perimeter). Note UV exposure, washdowns, and any oil mist.
- 15 min: Pull current product sheets. Highlight material type, IP rating, temperature range, and UV/chemical claims.
- 20 min: Email vendors this prompt:
- “Confirm jacket material grade and UV exposure test method.”
- “Share adhesion data to aluminum channels and end-cap seal life.”
- “Provide ingress test results after thermal cycling.”
- “State maintenance interval assumptions for outdoor installations.”
- 10 min: Shortlist only the options with outdoor silicone and documented weathering + ingress results.
Tools & Templates:
- Material Data Comparator (simple sheet): Columns for UV rating, temp range, tear strength, IP after cycling, chemical notes, warranty.
- QC Photo SOP: Snap end-cap fill levels and gasket compression at install.
- Maintenance Cue Cards: Quick checks for discoloration, chalking, or lift at the channel.
Worked Example (numbers):
- Current jacket: generic PU. Annual failure rate outdoors: ~12% of runs (moisture ingress, yellowing). Maintenance cost per failure: $180 (lift, reseal, downtime). Fleet: 150 runs. Annual cost: 150 × 0.12 × $180 = $3,240.
- Upgrade: outdoor-grade silicone jacket + better end caps. Expected failure rate: ~3% after the first year. New annual cost: 150 × 0.03 × $180 = $810.
- Savings: ~$2,430/year. If the material delta adds $8 per meter and average run is 5 m, added upfront is $40/run. Across 150 runs, $6,000. Break-even: ~2.47 years—faster if downtime costs are higher or access is difficult.
With a plan and numbers in hand, you can navigate the gray areas like a pro—so let’s talk nuance before you finalize a spec.
Nuances & Perspectives
Hazardous area lighting isn’t only about jackets. Zone classification (e.g., gas vs. dust), temperature class, and the overall luminaire certification drive what’s allowed. The strip’s outer silicone doesn’t replace the need for certified housings, glands, and barriers; it complements them.
If constant oil mist is present, check chemical compatibility tables—some oils soften certain silicone blends over time. If salt fog is severe, prioritize corrosion-resistant hardware and anodized aluminum with proper isolation from stainless to avoid galvanic issues. If thermal cycling is extreme, widen bend radii and spec strain relief so the jacket isn’t your spring. If fixtures run hot, make sure the jacket’s thermal stability won’t sag near drivers or power supplies.
The sweet spot: match your environment profile to a material system and a repeatable process, then verify with testing, not promises.
Once you accept the trade-offs, the next question is where to learn fast and who to trust for parts, testing, and maintenance tips.
Conclusion
The weak link in outdoor explosion-proof LED strips is rarely the pcb. It’s the layer that faces the weather. UV, heat, and chemicals attack typical jackets until seals open, moisture creeps in, and clarity drops. When that happens, brightness isn’t the headline—unplanned maintenance is. A rugged outdoor silicone jacket, proven for weathering and water exposure, flips that script. It keeps your seal tight, your optics clear, and your maintenance predictable.
You mapped your environment, picked a materials stack, and set a verification plan. You now have a table to follow, a checklist to repeat, and a small ROI model to defend the choice. That’s how you turn a buzzword into a decision you can stand behind. So the next time a datasheet shouts “outdoor ready,” ask for the weathering proof, the ingress results after thermal cycling, and the service life assumptions. Then choose the jacket that doesn’t blink in the sun.
FAQ
What makes silicone better than PVC outdoors?
Silicone stays flexible across temperatures, resists UV better, and maintains seals longer. PVC tends to yellow and harden, inviting cracks and leaks.
Does jacket choice replace hazardous-area certification?
No. The jacket supports durability and ingress; certification still depends on the enclosure, glands, and system design.
How can you validate claims quickly?
Ask for UV exposure testing details, IP results after thermal cycling, and adhesion data to your mounting channel